
DIY Stair Makeover: Carpet to Hardwood
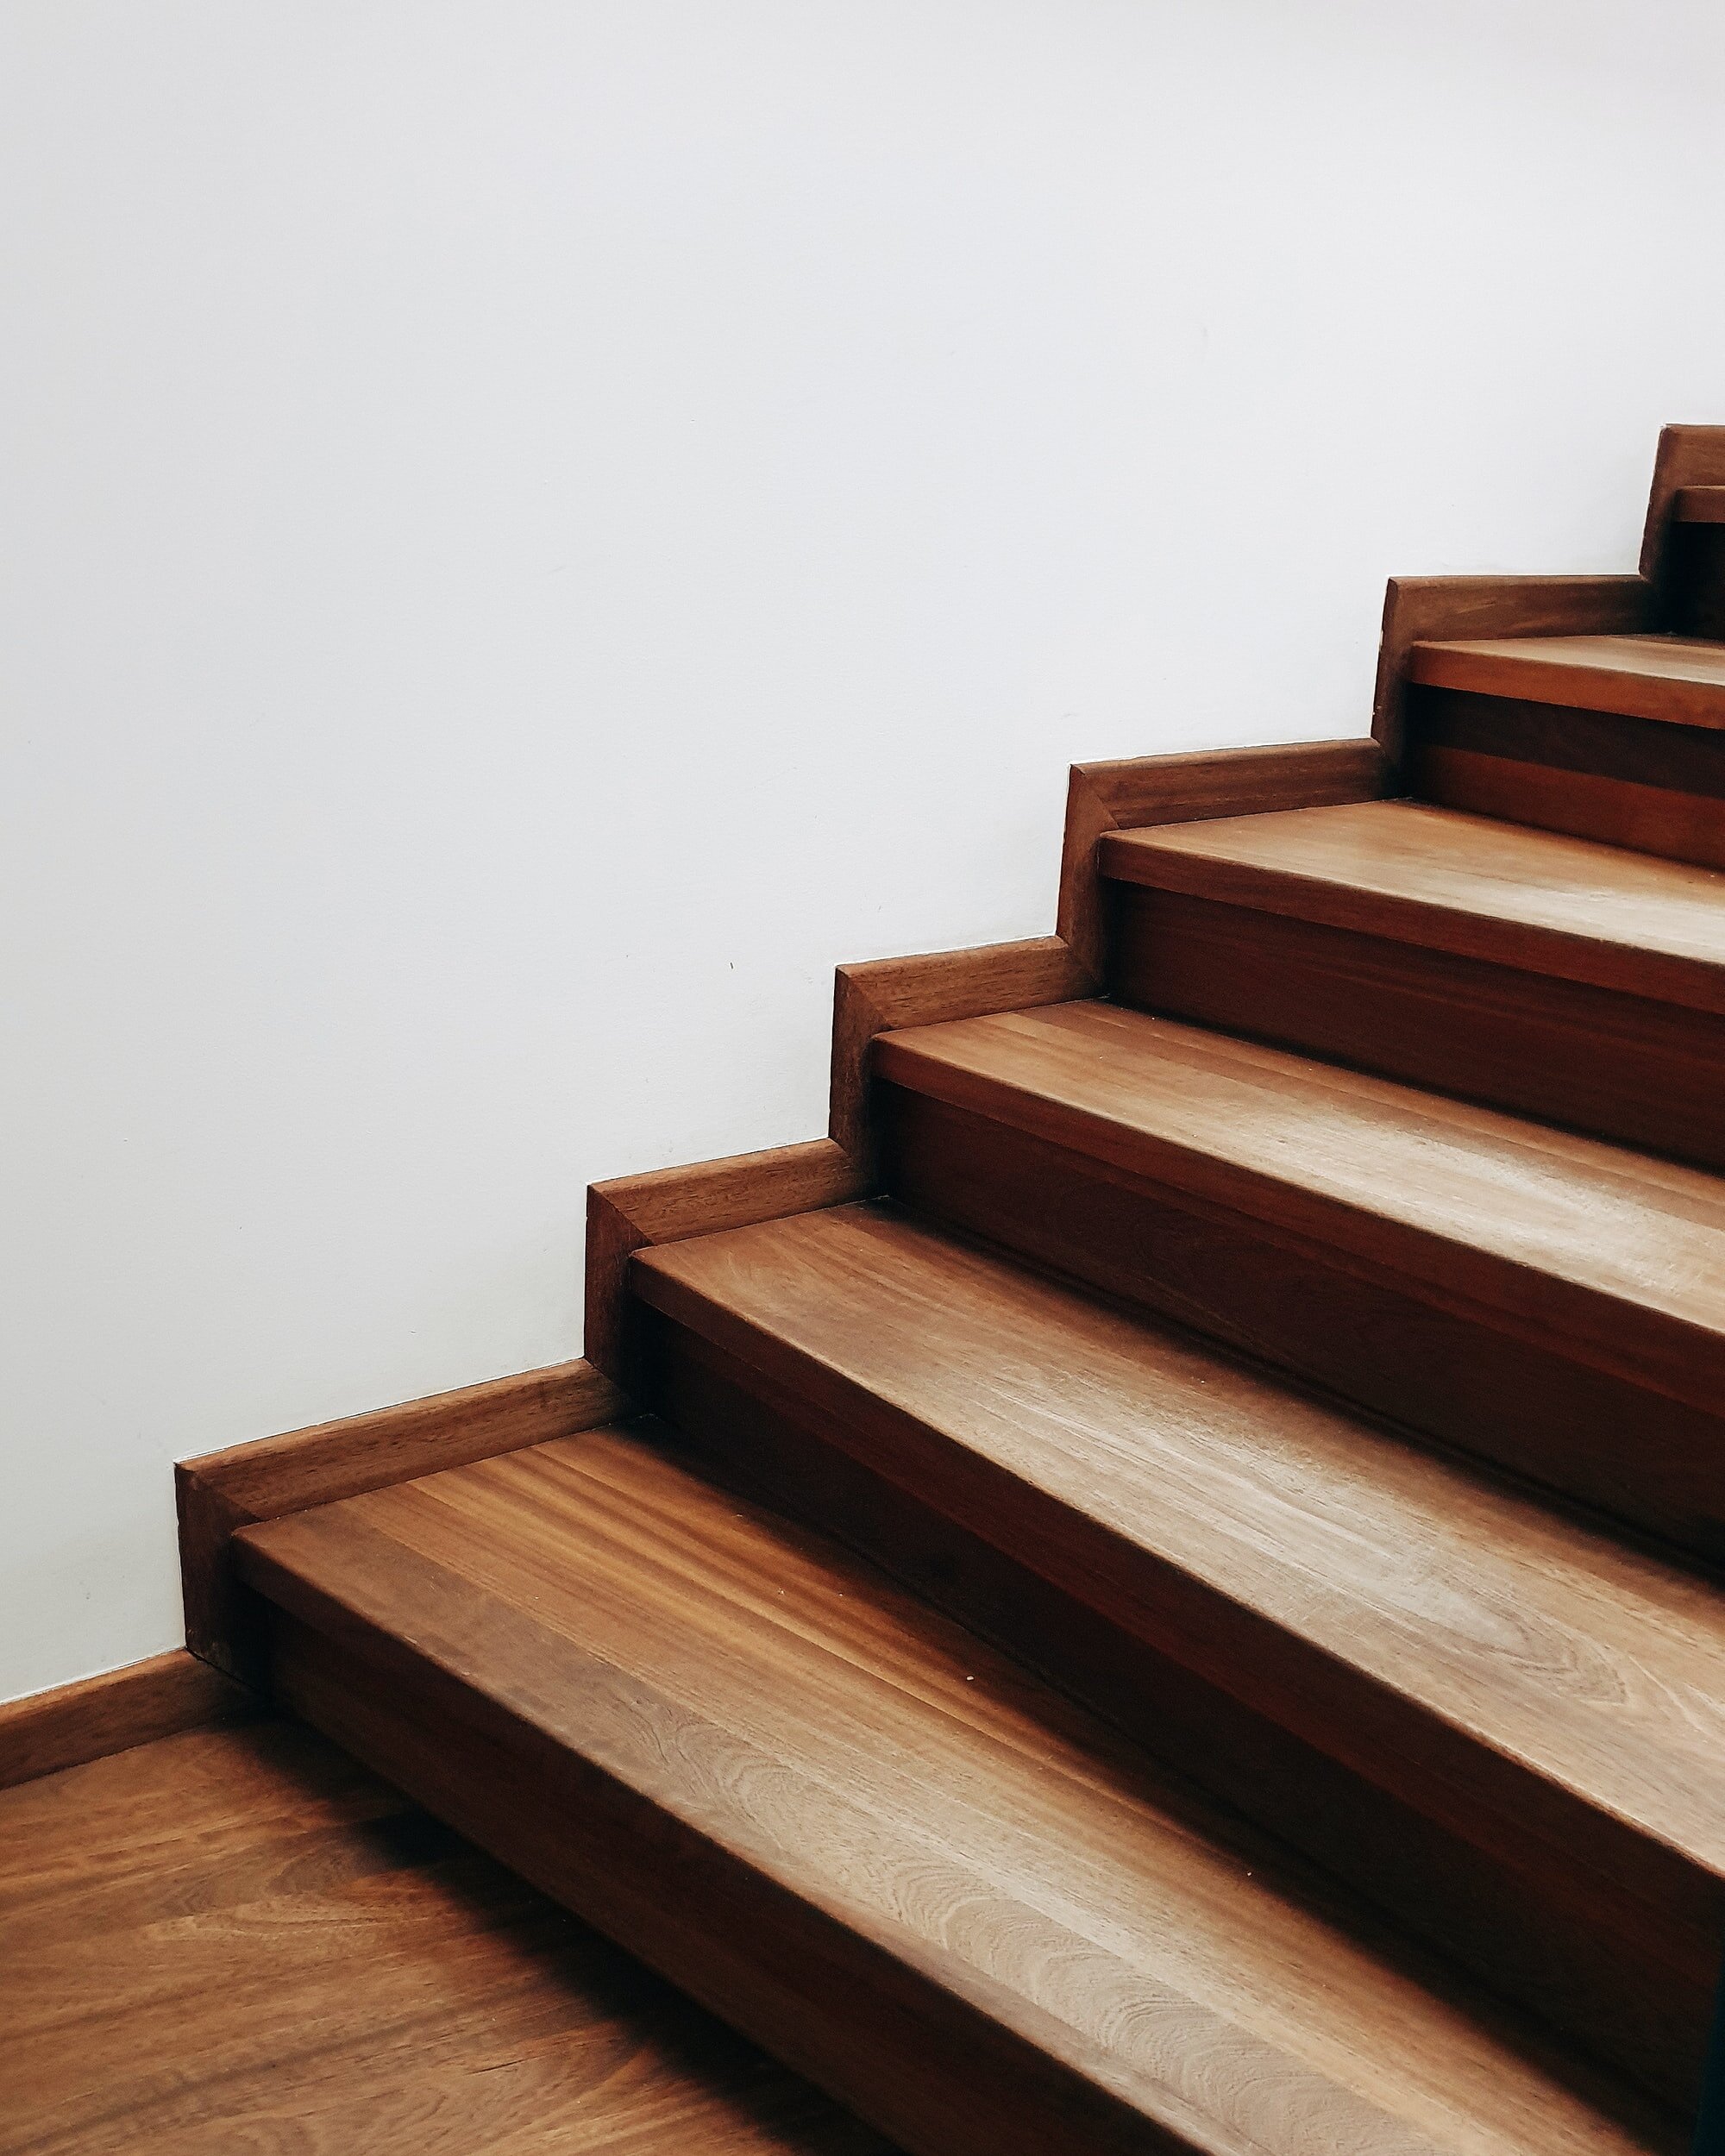
I love hardwood floors. I absolutely, unconditionally LOVE them! I love the hardwood floors in my home, at work, at my favorite restaurant, and of course, in historic buildings. They ooze warmth, character and impart dignity to any space. So, it was no surprise that the very first project I wanted to take on when we bought our first house was replacing the dreary old carpet on the stairs with hardwood. I decided to go for a classic look – dark stained treads with white painted risers.

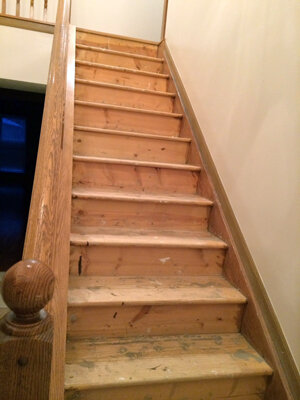
Before
Here’s how the old stairs looked!
A word of caution for fellow DIYers – read up on the code for stairs. This is one project where not following the code can lead to potential serious slips and falls — trust me I am an Architect ;)
Scroll to the end of the post to understand why this is important.
Goodbye nasty old carpet!
So to start off, we ripped up the old carpet… and promtly started sneezing and coughing. You won’t believe the amount of dust that collects within and underneath a carpet! We then grabbed dust masks and started on the carpet tacks. Be careful, they are sharp!
After the carpet was removed, we vacuumed thoroughly and started on the tread and riser measurements.
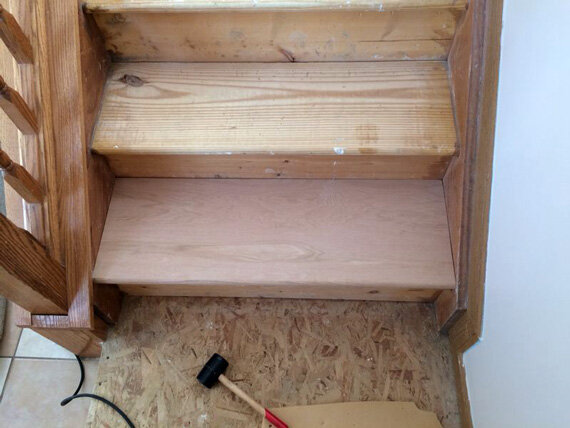
Here is a picture of the stairs with the carpet tack strips removed and the original pine treads exposed.
Creating new custom treads
After we had maxed out my brain with all the tread-rise calculations, we figured out that we needed to cut the bullnoses of existing treads, then custom-cut and glue new treads on top of them. It was time for the physical grunt work – cutting, cursing, cutting again, staining, coating, gluing, nailing and admiring.
We bought unfinished treads from Home Depot and cut them to size. Each tread had to be custom cut to get a good fit. This is the tread for the first step.
Staining & sealing the new treads
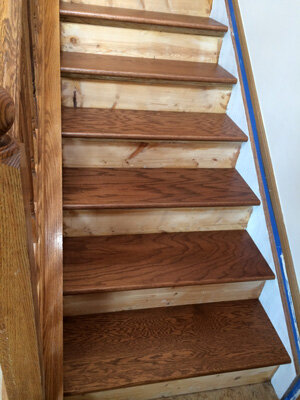
After cutting to size, we stained the treads with a custom stain from Sherwin Williams. The guys at Sherwin Williams were very helpful! They tweaked the stain several times until we had a close match with our existing hardwood. We then coated the treads with three thin coats of polyurethane. We applied just enough poly to give the tread some scratch resistance but still retain some grip. The coating is not as thick and glossy as the one on our hardwood floors. These are the stained hardwood treads after we placed them onto the existing treads (but not glued yet).

Removing the bullnoses & painting the risers
After that, it was time to cut the bullnoses off the old stairs and then measure, cut and paint the risers! I used a circular saw for cutting the bullnoses of the existing treads, but a reciprocating saw would work well, too. Pine wood chips easily, so a sharp chisel and hammer can be used to clean up the edges. I used a good quality white trim paint from Sherwin Williams for the risers, as well as for the sides of the stairs. The tread and riser for the first step are shown here..

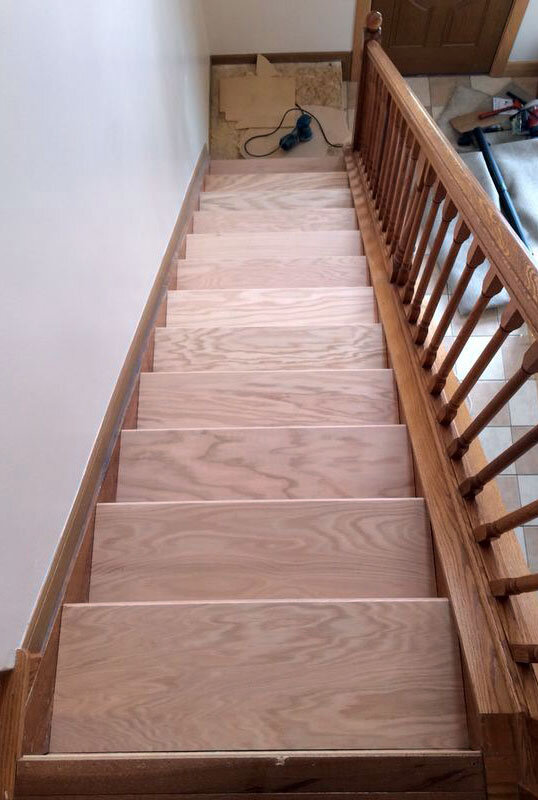
Installing the new treads & risers
So close to the finish line! We drilled the treads with three holes on each side for finish nails. Then we glued and nailed the treads and risers in place, working our way up from the first step. We used PL Premium to glue the treads and risers. We couldn’t be happier with the final result!
Why are tread and riser measurements so important?
Here was my situation: the previous owner had installed tile near the doorway entry (bottom of the stairs) and 3/4″ thick hardwood in the passageway at the top of the stairs. As a result, after removing the carpet, the bottom step had a 7″ rise and the top step had a 8.5″ rise. The rest of the steps had a 7.5″ rise. Is a 1″ difference in rise that important? Yes, it is! You can actually sense that difference as you go up and down the stairs. Think about the number of times you use the stairs in a day and all it takes is a tired lazy step at the end of the day… When it comes to stairs, be safe, follow the code. After looking at my situation, I decided to put new 1″ treads on top of existing treads and 3/4″ solid hardwood on the landing to stay within the code. The International Residential Code prescribes a maximum riser height of 7 ¾” and a minimum tread width of 10”.